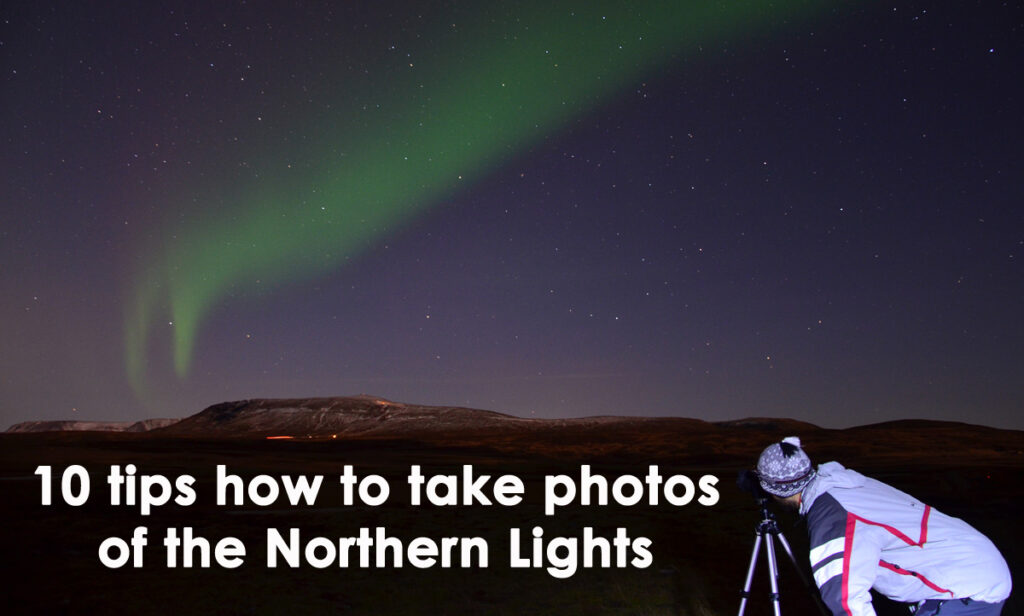
Equipment:
- TRIPOD – no northern lights photo is good unless taken while using a tripod.
- REMOTE CONTROL – helps to reduce movement of a camera when triggering the shutter; delayed shutter will do as well if you do not have a remote control.
- POCKET FLASHLIGHT or HEADLIGHT – not only can you light up your friends faces on the photos, but it will help you to see on your camera while making the right settings and also to see around yourself and where you are stepping.
- WARM CLOTHES – believe it or not, it will make your photos better as you will be more willing to spend your time on making the right settings. See more details below.
- BATTERY – make sure your battery is fully charged because long exposures take more energy than usual photos.
Settings:
Manual settings of SHUTTER, APERTURE, and ISO do your masterpiece!
If you are not sure what we are talking about, study your camera manual prior to the tour, it pays off 
- APERTURE: in general, keep it as much open as your lens allows you; in other words, use the lowest “F” number possible – usually 2,5 to 3,5.
- ISO: is the sensitivity of the sensor to the light; raise it higher than usual, to about 800 – 1600 depending on the quality of your camera and strength of the northern lights.
- SHUTTER speed: it very much depends on the type of your camera/lens and strength of the Northern Lights, but start with 15 sec and play around that number according to the results.
- FLASH: do not use the camera flash, unless you really know what you are doing If you wish to take a photo of your friends and northern lights in the background, use your pocket flashlight to light up their face and ask your friends to stay very still for the whole time when the shutter is open.
- FOCUS: Make sure the camera is focused correctly; focus on some light spot – if you shoot only northern lights without people, focus on some brighter star or the moon; if you take a photo of people, make sure the focus is on their face. Some cameras have difficulties with auto focus at night, then turn it off and focus manually. For a photo of northern lights only, set the focus on almost infinity, but if you have people in the foreground, do not forget to refocus on their face.
Further tips for being warm:)
- Get yourself “heating pads” to put into your mittens, they stay warm for about 8 hours; you will love them since they will save you a frozen finger or two. You can purchase them in outdoor stores.
- Consider using a double layer of gloves, one pair of thin ones to fit in thicker mittens with the heating pads. This is especially useful when you need to change settings on your camera – which is nearly impossible in fluffy mittens, thus when you take them off, you will still have at least one layer of fitting gloves to prevent you from instant freezing and those will still allow you to use small buttons on your camera correctly.
- Having a warm tea in your therm bottle will make you a favorite travel mate
- Well, warm clothing is a prerequisite for having a good time on a Northern Lights tour no matter whether you will be taking photos or not, so forget about jeans or sneakers and dress in warm and windproof clothes!
Ready for Northern Lights tour? Let’s go out and play!